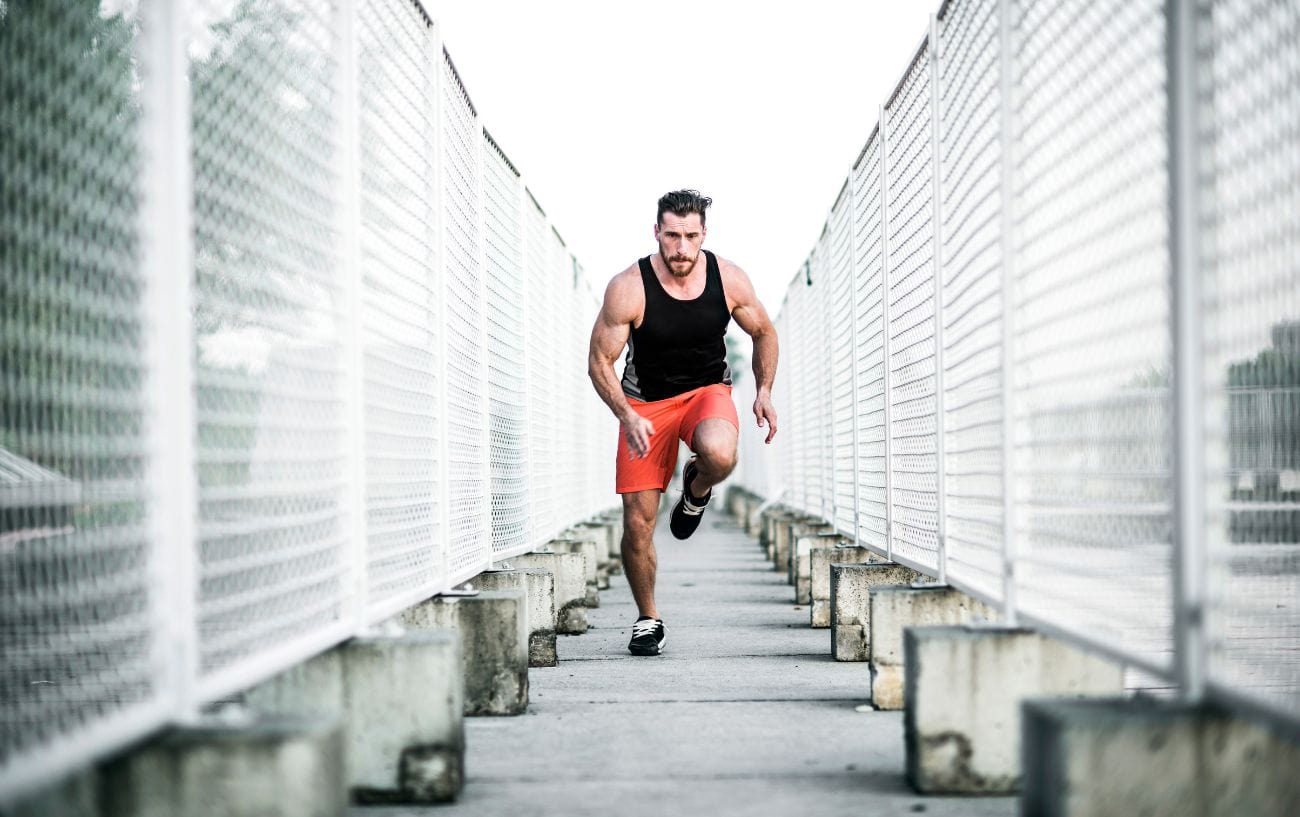
Using a foam roller is an excellent way to warm up your leg muscles before a workout or to soothe soreness afterward. It’s particularly effective for easing delayed onset muscle soreness (DOMS) and reducing tightness.
Foam roller exercises for the legs are simple, quick to learn, and easy to incorporate into both pre-workout routines and post-run recovery. They’re also a cost-effective self-massage option compared to professional treatments.
Foam rolling is a form of self-myofascial release—essentially self-massage—where “myo” refers to muscles and “fascia” refers to the connective tissue surrounding them.
The challenge for many runners is knowing how to foam roll effectively and which exercises deliver the best results. That’s why in this guide, we’ll share step-by-step instructions and videos of the most effective foam roller exercises for your legs.

The Best Foam Roller Exercises For Legs
Think of foam rolling as maintenance work that keeps you running stronger for longer.
After every run, your quads, hamstrings, calves, glutes, and hip flexors take on a considerable load, along with the smaller stabilizing muscles that keep your stride efficient.
By taking just a few minutes to roll out each of these key areas, you’ll release tension, boost blood flow, and speed up recovery—so you can hit your next run feeling looser, fresher, and more powerful.
The exercises below are designed to target the muscle groups that runners rely on most.
#1: Quads
The quadriceps absorb much of the impact with every stride, especially during downhill running. They also generate power to extend your knee and push you forward.
Here are the steps:
- Get in a forearm plank position with the foam roller located at the top of your thighs, just below the crease in your leg, at the bottom of your groin.
- Loading your body weight into your forearms, slowly lean your body forward so that your torso extends past your forearms. This will allow the foam roller to travel down your quads.
- Continue foam rolling your quads until the foam roller is just above your knees. Do not roll on your knees.
- Then, switch the direction so that you are shifting your body weight, pressing back into the forearm plank position to help move the foam roller back up to the top of your quads.
- If any areas feel particularly tight, pause and hold the position for a full breath. Then, continue foam rolling.
- Foam roll your quads back and forth using this same movement pattern for 30-60 seconds.
#2: Hamstrings
The hamstrings are the muscles that run along the back of the thigh. These muscles help extend the leg at the hip and flex the knee.
Hamstrings tend to be chronically stiff and sore in individuals who sit for extended periods, as well as in runners.
Acting as the brakes and the engine, your hamstrings control your leg swing, stabilize the knee, and power hip extension during toe-off. They’re heavily taxed in faster running and on hilly terrain.
Here are the steps:
- Sit on the floor with your legs extended straight out in front of your body with your hands face down on either side of your hips.
- Situate the foam roller at the top of your hamstrings (under your legs) just below where your bottom meets the back of your outer thigh.
- Press your body weight into your palms and onto the foam roller, leaning into your upper body, and start pushing your butt backward to help move the foam roller down your hamstrings. You will need to “walk“ your hands along your body to help move the foam roller along your hamstrings.
- Stop when the foam roller is at the bottom of your hamstrings just before the crease in the back of your knees.
- Then, reverse directions by walking your hands back and leaning your weight forward to scoot your butt back into the starting position.
- Stop when you get to the top of your hamstrings.
- Continue rolling up and down your hamstrings for 30 to 60 seconds
- Pause on any sore muscle spots or make tiny micro rolls along muscle knots (also known as triggerpoints).
#3: Hip Flexors
The hip flexors refer to the group of muscles at the front of the hips that help lift the leg up. These muscles become particularly tight after sitting for long periods or from chronic overuse due to repetitive activities like running.
These muscles lift your knee with each stride and help maintain proper running form. Because they’re constantly engaged, especially on inclines, they can easily become tight and limit your stride length.
Here are the steps:
- Lie face down with the foam roller under one hip flexor and the other leg out to the side. Prop your body up on your forearms.
- Make small movements forward and backward to foam roll the hip flexor.
- Angle the foam roller in different ways so that you can also roll side to side along the width of the hip flexor muscle group to mobilize and target all of the different muscle fibers.
- If you detect any particularly tender or tight spots, pause and press into the foam roller as tolerated before continuing to roll.
- Roll for 30 seconds.
- Switch sides.
#4: Calves
The calf muscles are on the back of your lower leg, and they tend to get tight after strength training, running, hiking, walking, cycling, or even wearing high-heel shoes.
In running, your calves propel you off the ground with every step, storing and releasing elastic energy. They endure a high load during both long runs and speedwork, making them prone to tightness.
Here are the steps:
- Sit on the floor with your legs extended straight out in front of your body.
- Place your palms on the floor on either side of your hips.
- Situate the foam roller under one calf muscle just below the back of your knee.
- Press your weight into your hands to lift your body up so that you are weight-bearing through your hands as well as the one calf muscle on the foam roller.
- You can place your other leg over the one on the foam roller to increase the intensity of the foam roller calf exercise.
- Roll down towards your ankle, moving your upper body along with the foam roller while it travels down the length of your calf muscle.
- Roll back up towards the back of your knee.
- Stop and pause at any tender areas, leaning into the foam roller and making little rolls back and forth along muscle knots.
- Roll for 30-60 seconds, and then switch legs.
#5: Shins
Most people don’t think of the shins when they think of foam roller exercises, but there are muscle groups along the medial and lateral compartments of your shin bone that can get quite stiff and sore. They’re heavily used when running on hard surfaces and can flare up as shin splints if overloaded.
Using a foam roller on your shin can help loosen up your anterior tibialis muscle along the inside of your shin and the peroneal muscle groups along the outside of your shin.
Particularly if you are using a firm or high-density foam roller or a foam roller with a textured surface, you may want to avoid using the foam roller directly on the shin bone. It should be angled to either side of the shin for this foam roller leg exercise.
Here are the steps:
- Kneel down on all fours in a tabletop position with the foam roller located at the top of your shins just below your knees.
- Angle your hips so that you are shifting where along your shins you are rolling (inside or outside).
- Keep flip-flopping the direction that you shift your hips with every roll so that you are rolling both the inside and the outside of each shin equally.
#6: IT Band
The iliotibial band isn’t a muscle but a thick band of connective tissue that runs along the outside of your thigh, helping stabilize the hip and knee during running.
Many runners try to roll directly on the IT band to relieve tightness, but because it’s dense fascia rather than muscle, foam rolling it directly can often be painful and not very effective. Instead, it’s better to focus on the muscles around it—like the quads, hamstrings, and glutes—which influence IT band tension.
Light rolling along the outer thigh can sometimes help with general tightness, but if you’re dealing with sharp pain (especially at the knee), avoid aggressive rolling and address the surrounding muscles instead.
Here are the steps:
- Lie on the right side of your body with the foam roller just below hip level. Your right leg should be straight, and you can bend your left hip and knee to bring the leg out in front of you for stability. Rest your body weight on the right forearm as if doing a side plank.
- Using your right forearm and left leg on the ground to brace your body, roll the foam roller down the length of your thigh until just above knee level.
- Roll back up to the starting position.
- Continue this pattern. Stop and pause on any tender spots.
- Roll for 30 seconds and then switch sides.
#7: Glutes

The glutes are your powerhouses, driving hip extension and keeping the pelvis stable. When they fatigue or underperform, smaller muscles take on extra stress, increasing injury risk.
Here are the steps:
- Sit on the floor with your knees bent and feet flat. Place the foam roller under your right glute.
- Plant your hands behind you for support, keep your spine long, and brace your core.
- Shift most of your weight onto the right glute.
- To target glute med/piriformis, cross your right ankle over your left knee and rotate your torso about 15–30° toward the right. This exposes the outer/posterior hip.
- Roll for 30 seconds, then switch sides. When you find a tender spot, pause and hold on it for 20–30 seconds while taking deep belly breaths.
Overall, foam rolling exercises for your legs can provide a variety of benefits, including relieving muscle pain and tension, assisting in exercise recovery, improving blood flow, reducing muscle soreness after exercise, enhancing flexibility and range of motion, and potentially even improving exercise performance.1Schroeder, A. N., & Best, T. M. (2015). Is Self Myofascial Release an Effective Preexercise and Recovery Strategy? A Literature Review. Current Sports Medicine Reports, 14(3), 200–208. https://doi.org/10.1249/jsr.0000000000000148 2Hendricks, S., Hill, H., Hollander, S. den, Lombard, W., & Parker, R. (2019). Effects of Foam Rolling on Performance and Recovery: A Systematic Review of the Literature to Guide Practitioners on the use of Foam Rolling. Journal of Bodywork and Movement Therapies, 24(2). https://doi.org/10.1016/j.jbmt.2019.10.019 3MacDonald, G. Z., Button, D. C., Drinkwater, E. J., & Behm, D. G. (2014). Foam Rolling as a Recovery Tool after an Intense Bout of Physical Activity. Medicine & Science in Sports & Exercise, 46(1), 131–142. https://doi.org/10.1249/mss.0b013e3182a123db 4Su, H., Chang, N.-J., Wu, W.-L., Guo, L.-Y., & Chu, I-Hua. (2017). Acute Effects of Foam Rolling, Static Stretching, and Dynamic Stretching During Warm-ups on Muscular Flexibility and Strength in Young Adults. Journal of Sport Rehabilitation, 26(6), 469–477. https://doi.org/10.1123/jsr.2016-0102 5Junker, D. H., & Stöggl, T. L. (2015). The Foam Roll as a Tool to Improve Hamstring Flexibility. Journal of Strength and Conditioning Research, 29(12), 3480–3485. https://doi.org/10.1519/jsc.0000000000001007 6Cheatham, S. W., Kolber, M. J., Cain, M., & Lee, M. (2015). THE EFFECTS OF SELF-MYOFASCIAL RELEASE USING A FOAM ROLL OR ROLLER MASSAGER ON JOINT RANGE OF MOTION, MUSCLE RECOVERY, AND PERFORMANCE: A SYSTEMATIC REVIEW. International Journal of Sports Physical Therapy, 10(6), 827–838. https://www.ncbi.nlm.nih.gov/pmc/articles/PMC4637917/
Read more about properly foam rolling your IT band here.
If you want to understand better the science behind foam rolling and when to avoid doing it, check out:
References
RunClub — Free
Join 300,000+ runners in RunClub
Free training plans for every distance, a daily running game, exclusive coaching content, and a real community of runners. Create your free account in 20 seconds — no card.
Already a member? Log in →


Start the conversation